My custom-fit mannequin
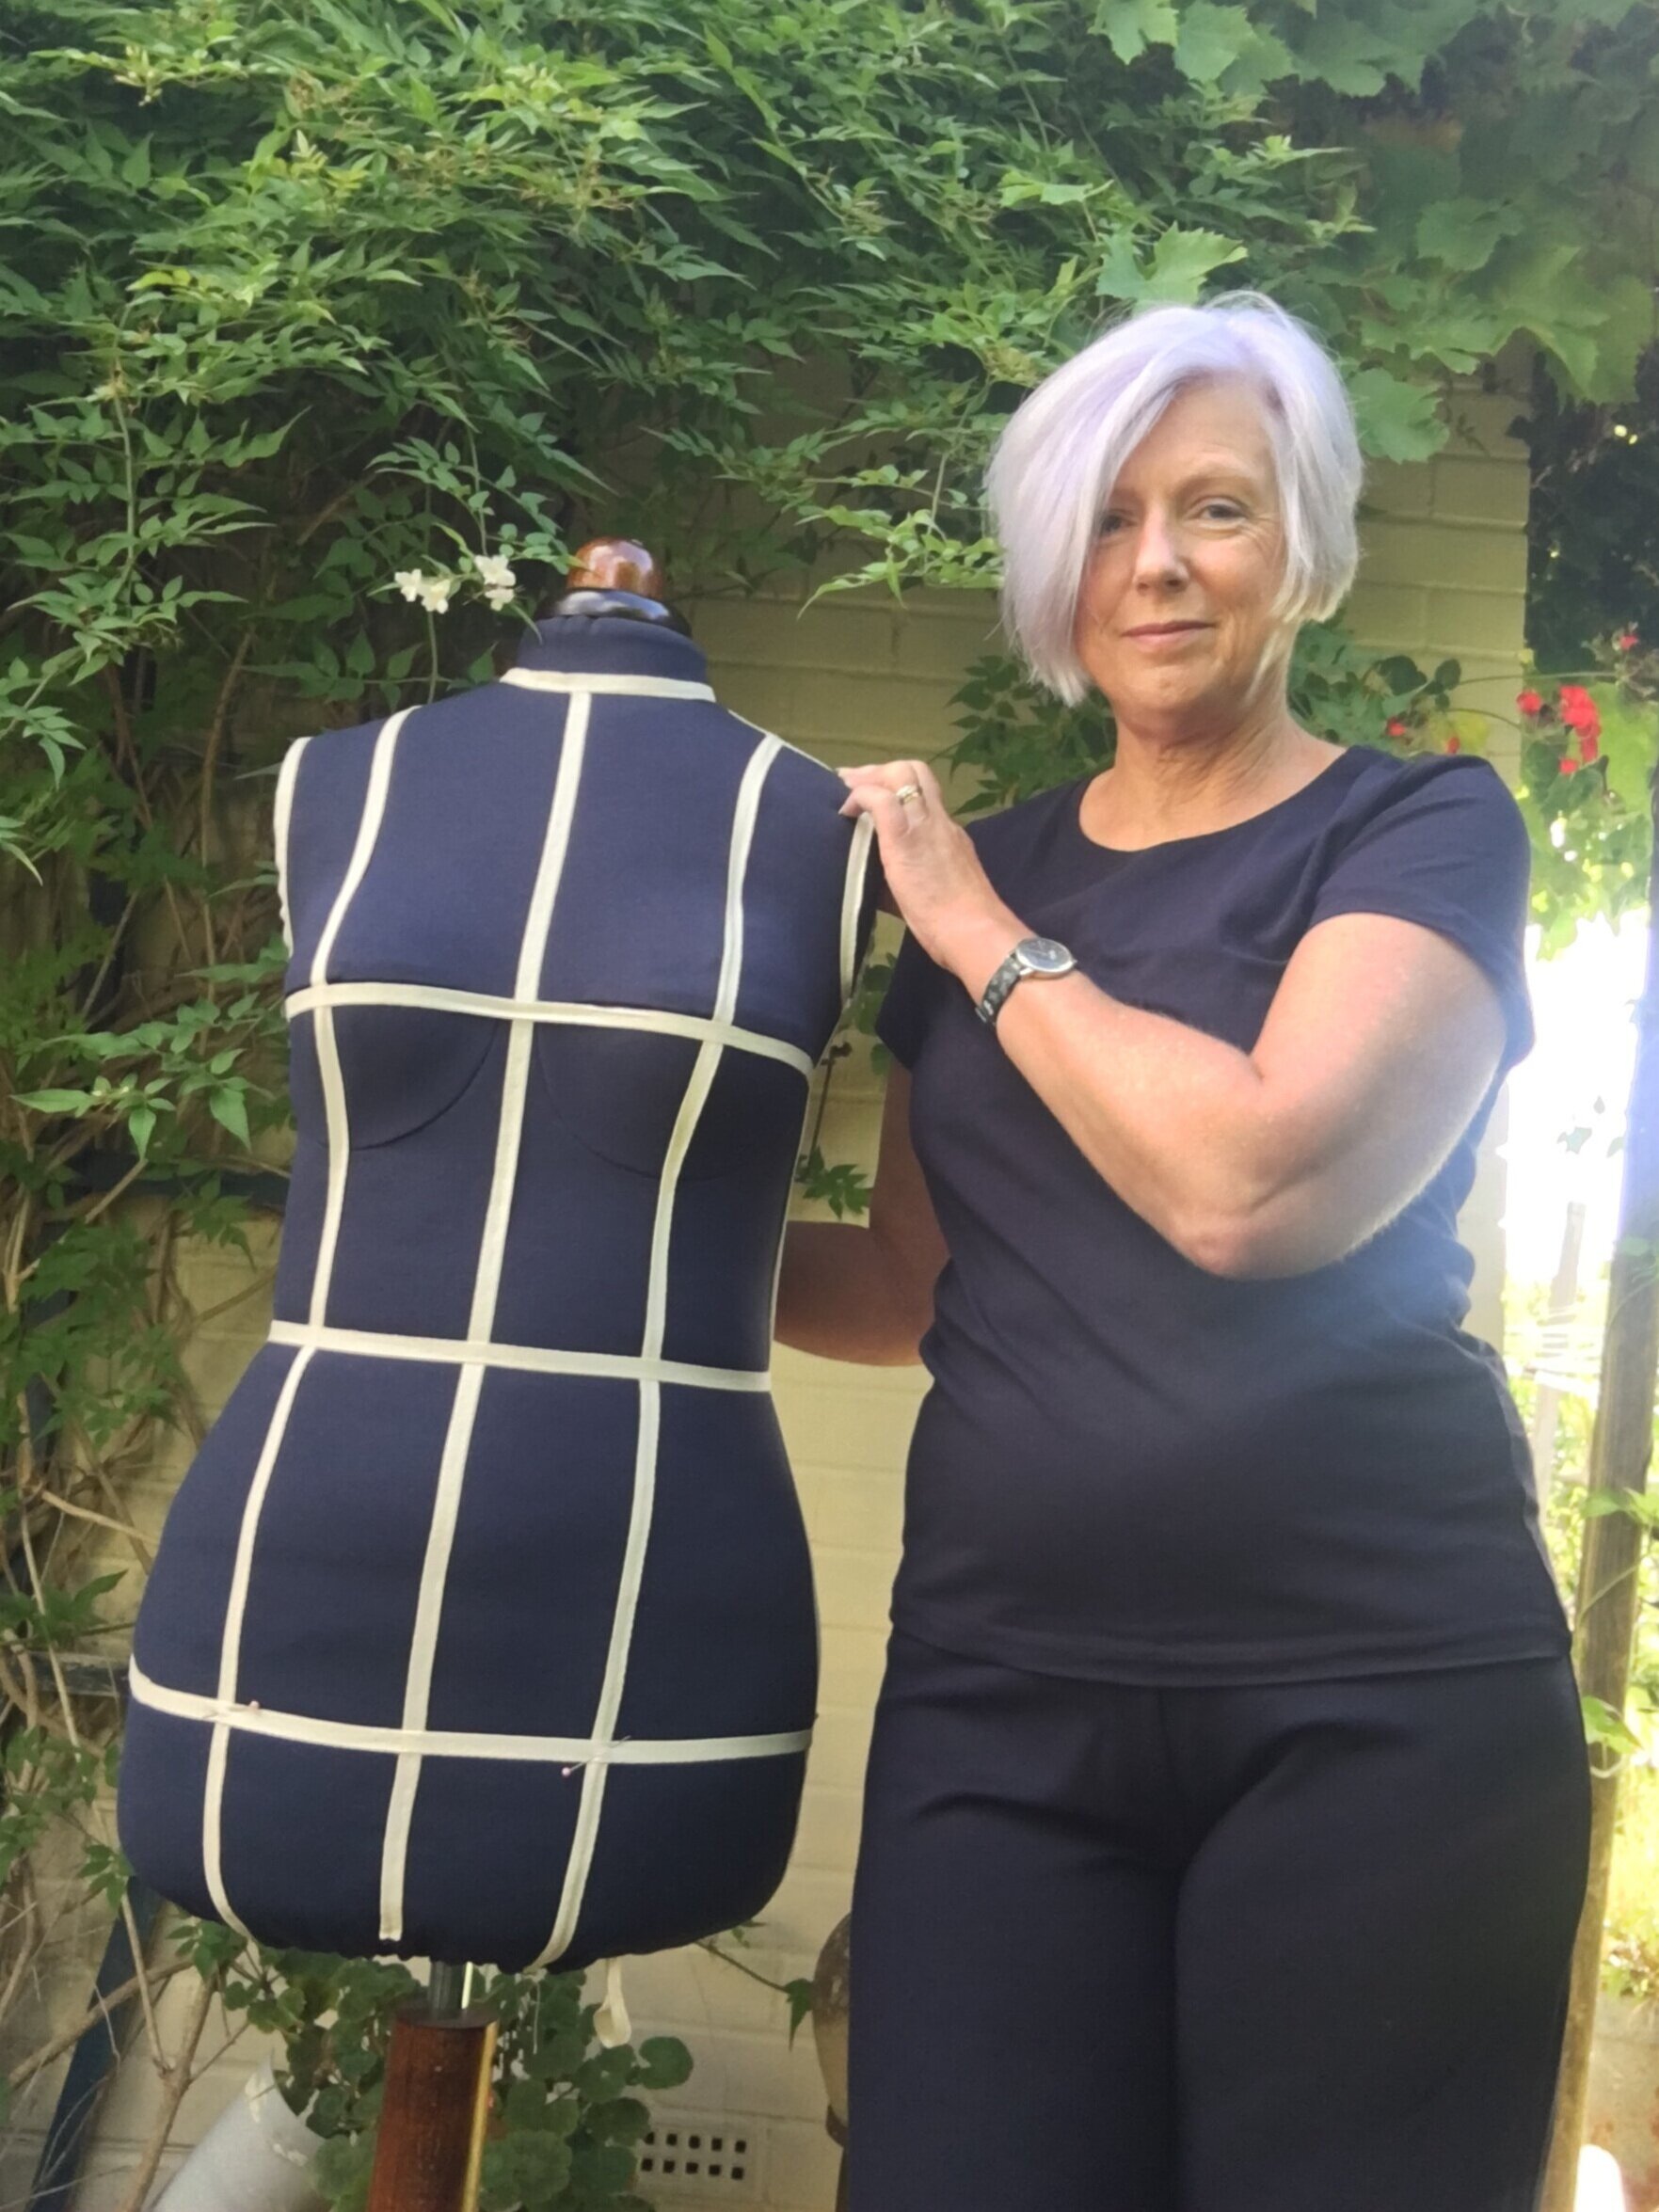
Meet Miss Mannequin – my body double! I don’t know about you, but for me, one of the most frustrating elements of dressmaking is achieving the perfect fit. I’m not supple enough to be a contortionist and I don’t know many passionate sewists locally who would want to be my fit buddy. I’ve been thinking about a custom mannequin for a while and whilst I already had an adjustable mannequin, I was finding that even when she was adjusted to my measurements, she didn’t share my proportions – plus the large gaps between panels made her unstable and difficult to drape on.
I spent some time researching options – and investing in yet more mannequins that were nearly – but never identical to – my size and shape. I trawled YouTube and blog posts looking at people who wrapped themselves in duct tape or paper tape to reproduce their body shape, then filling this with expanding foam in an effort to produce the perfect dress form. Then there were systems you could buy comprising a range foam pads which you placed on an existing mannequin to reproduce your shape, holding these in place with a stretchy cover. Finally with a substantial budget, there was the option of a custom-fit professional dress form made to your measurements; to my knowledge these are not available in the UK so you would also have to factor in the cost of shipping.
For me, the custom fit dress form cover from https://patterns.bootstrapfashion.com seemed an interesting solution – inexpensive and it allows you to use an existing mannequin which is smaller than your proportions. The idea is that you create a stretch dressform cover to your unique measurements, which you then pad out. Via the Bootstrap Fashion website you enter a range of measurements and then compare yourself to different body types to add things such as belly protuberance, buttock shape, posture etc. The site provides guidance on this but I found it was quite difficult to analyse body shape objectively, so if you can get help with this, it would be worthwhile.

The pdf pattern for my custom fit dressform cover from Bootstrap Fashion.

Via the Bootstrap Fashion website you enter a range of measurements and then compare yourself to different body types for your custom dressform cover.
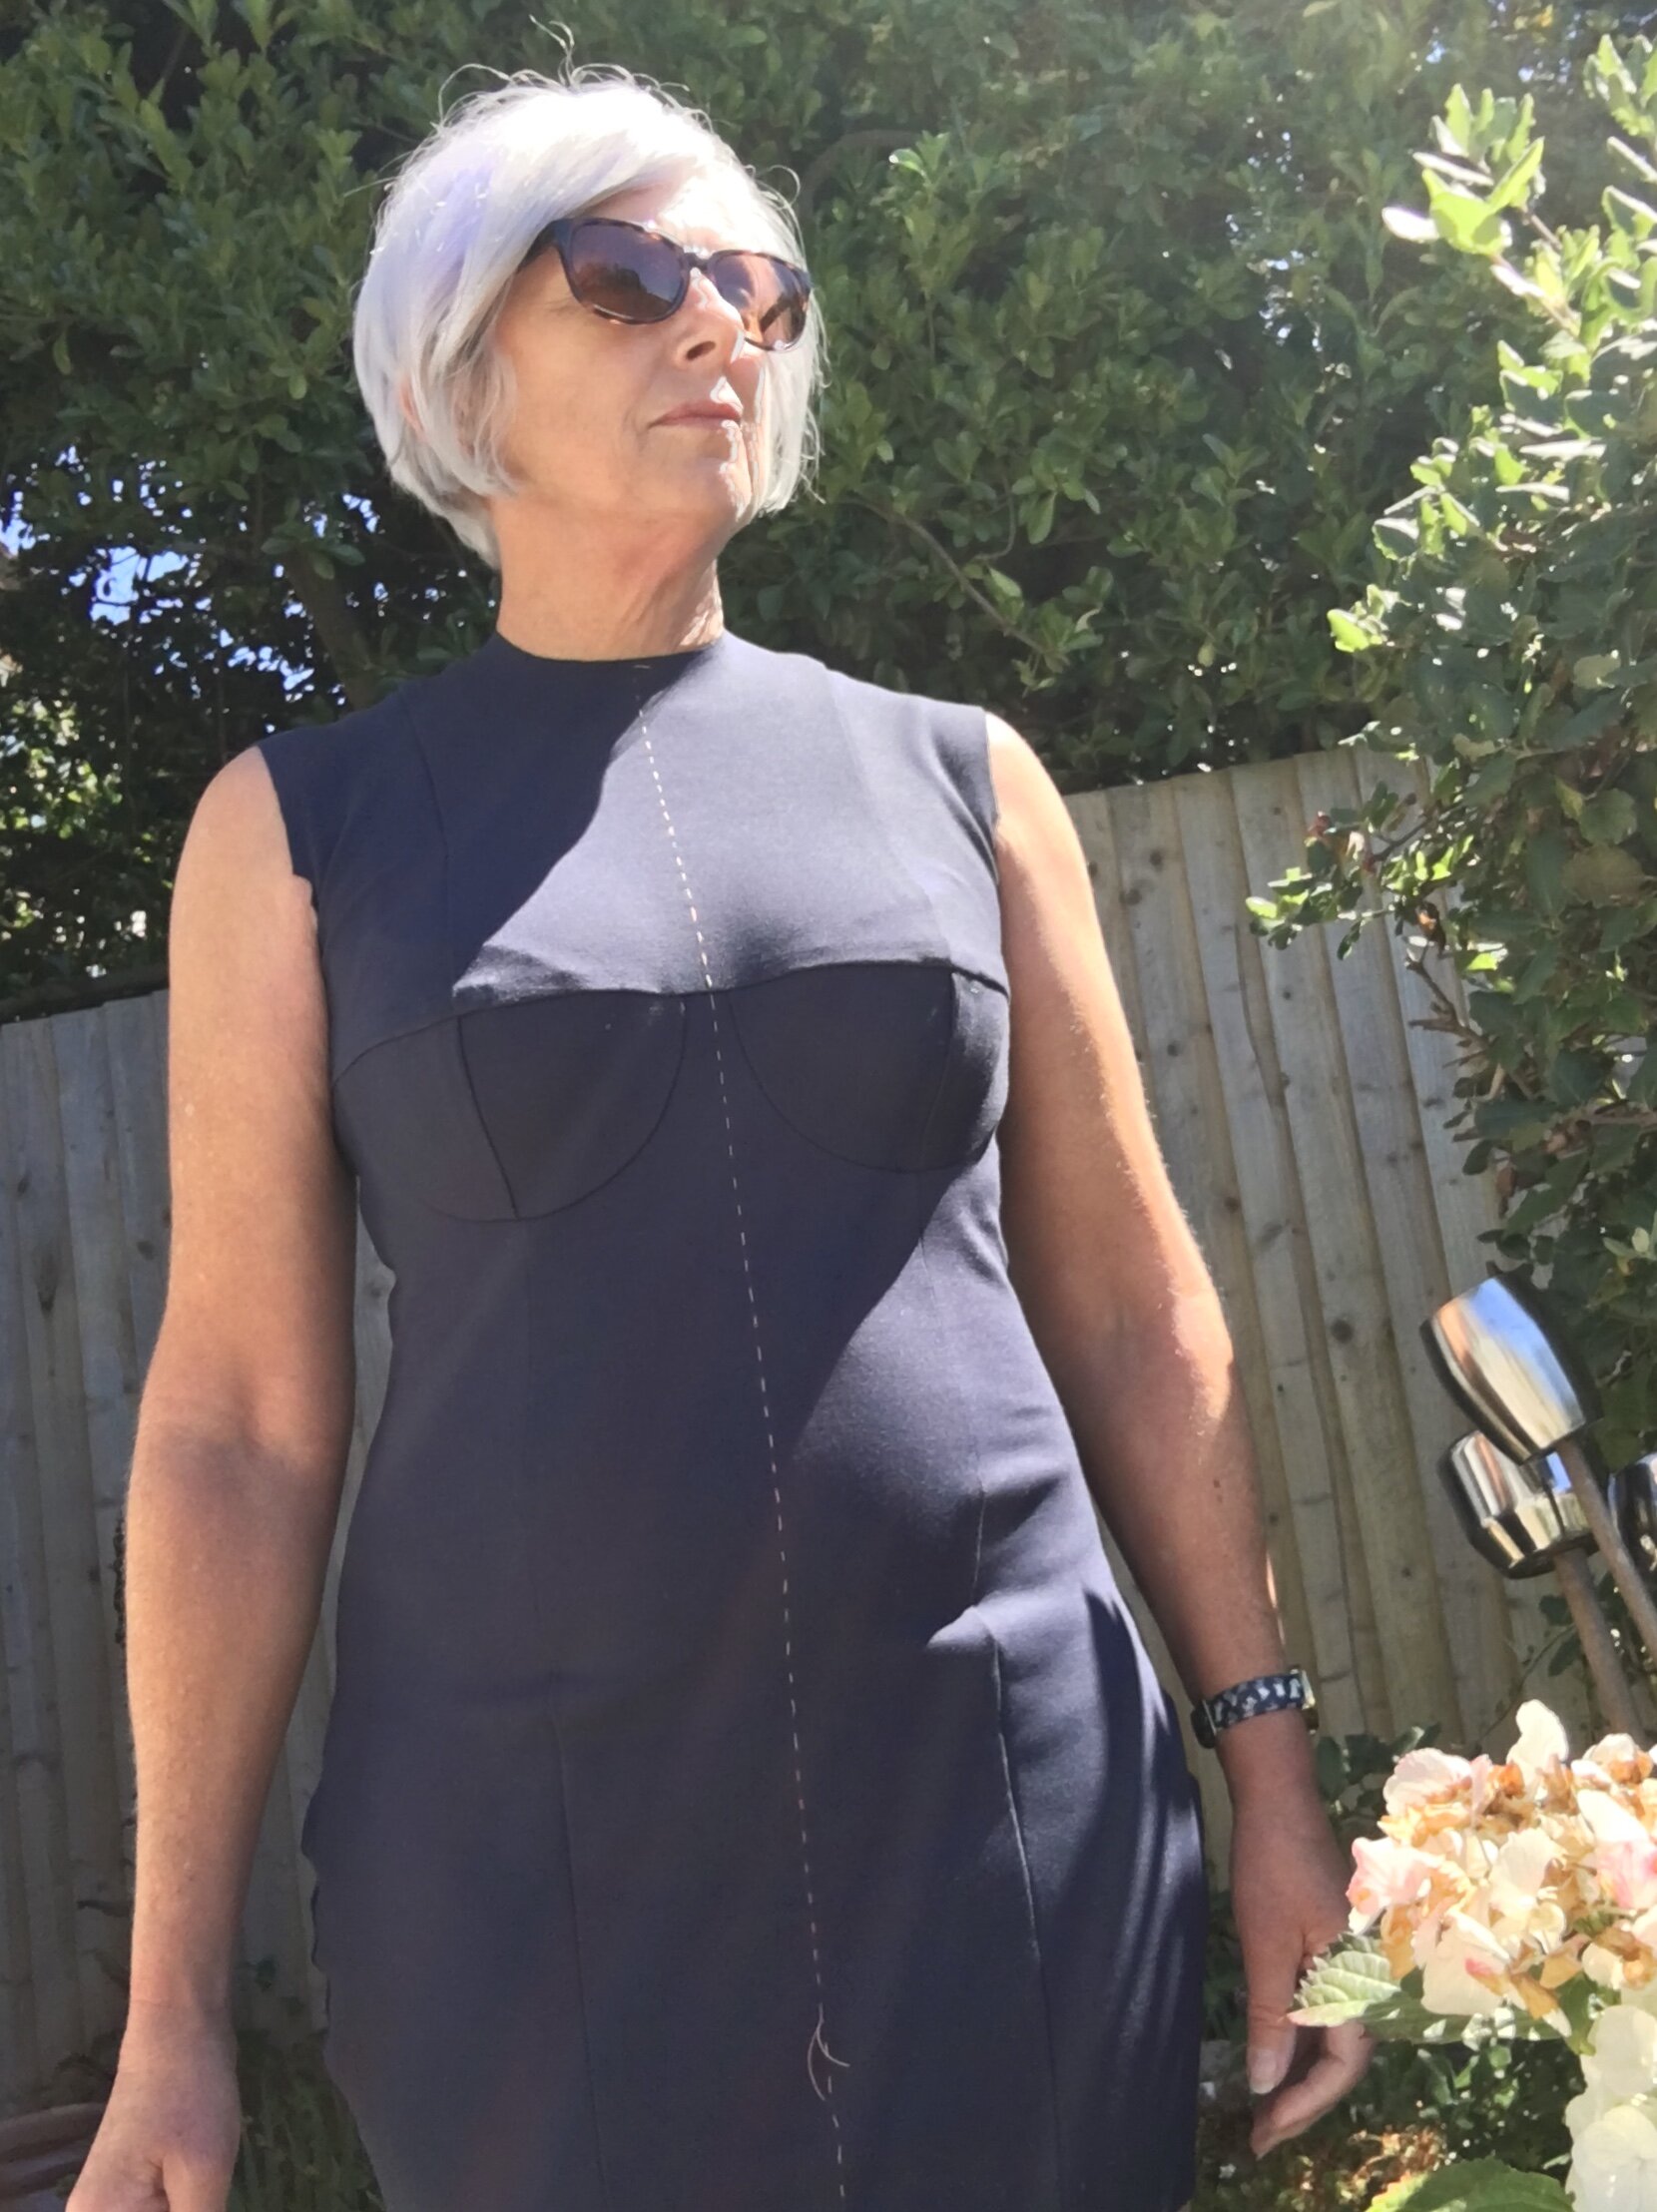
Within 30 minutes you will receive a pdf pattern for your dress form cover, which you need to sew up in a stable knit. I used a remnant of heavyweight 4-way stretch jersey from Stitch Fabrics which is a blend of 60% viscose, 35% polyester and 5% spandex. Once you’ve sewn up your cover, try it on for fit – I must admit I felt like a relic from the 1980s in a little body-con number at this stage!! Take plenty of photos from all angles, so you can gauge where to add the padding. I used 4oz polyester wadding for this which was about 75cm wide and I managed to get through nearly 2 metres!

Initially I adjusted the dressform to match my bust and underbust measurements, with the intention of padding out only the waist and hips to match my pear shape. Bootstrap Fashion recommend you use shoulder pads for padding but I used 4oz polyester wadding which was fairly pliable, stretching around and over the contours. This was pinned in place and I cut out oval shapes of wadding to pad out the belly and buttocks. Once I replaced the dress form cover on the mannequin it was blindingly obvious that it was still not a good match for my shape.
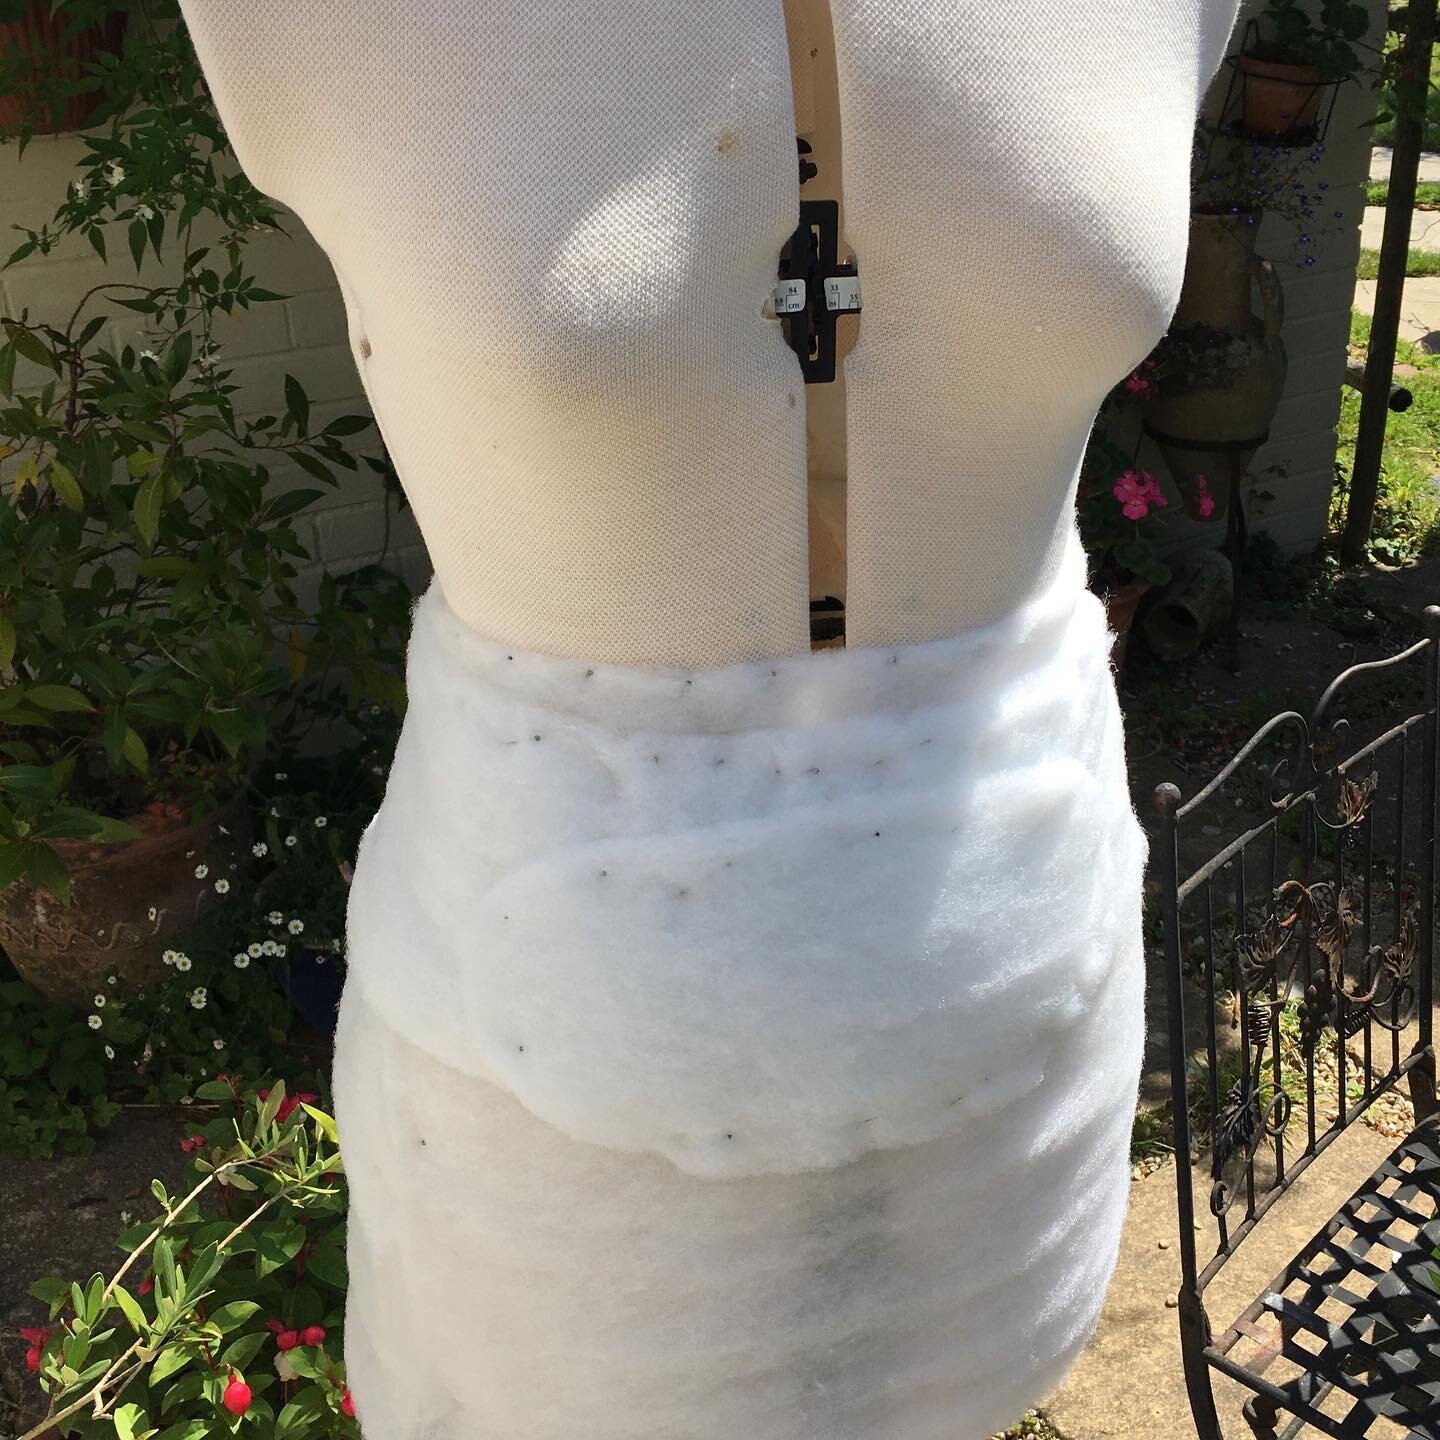
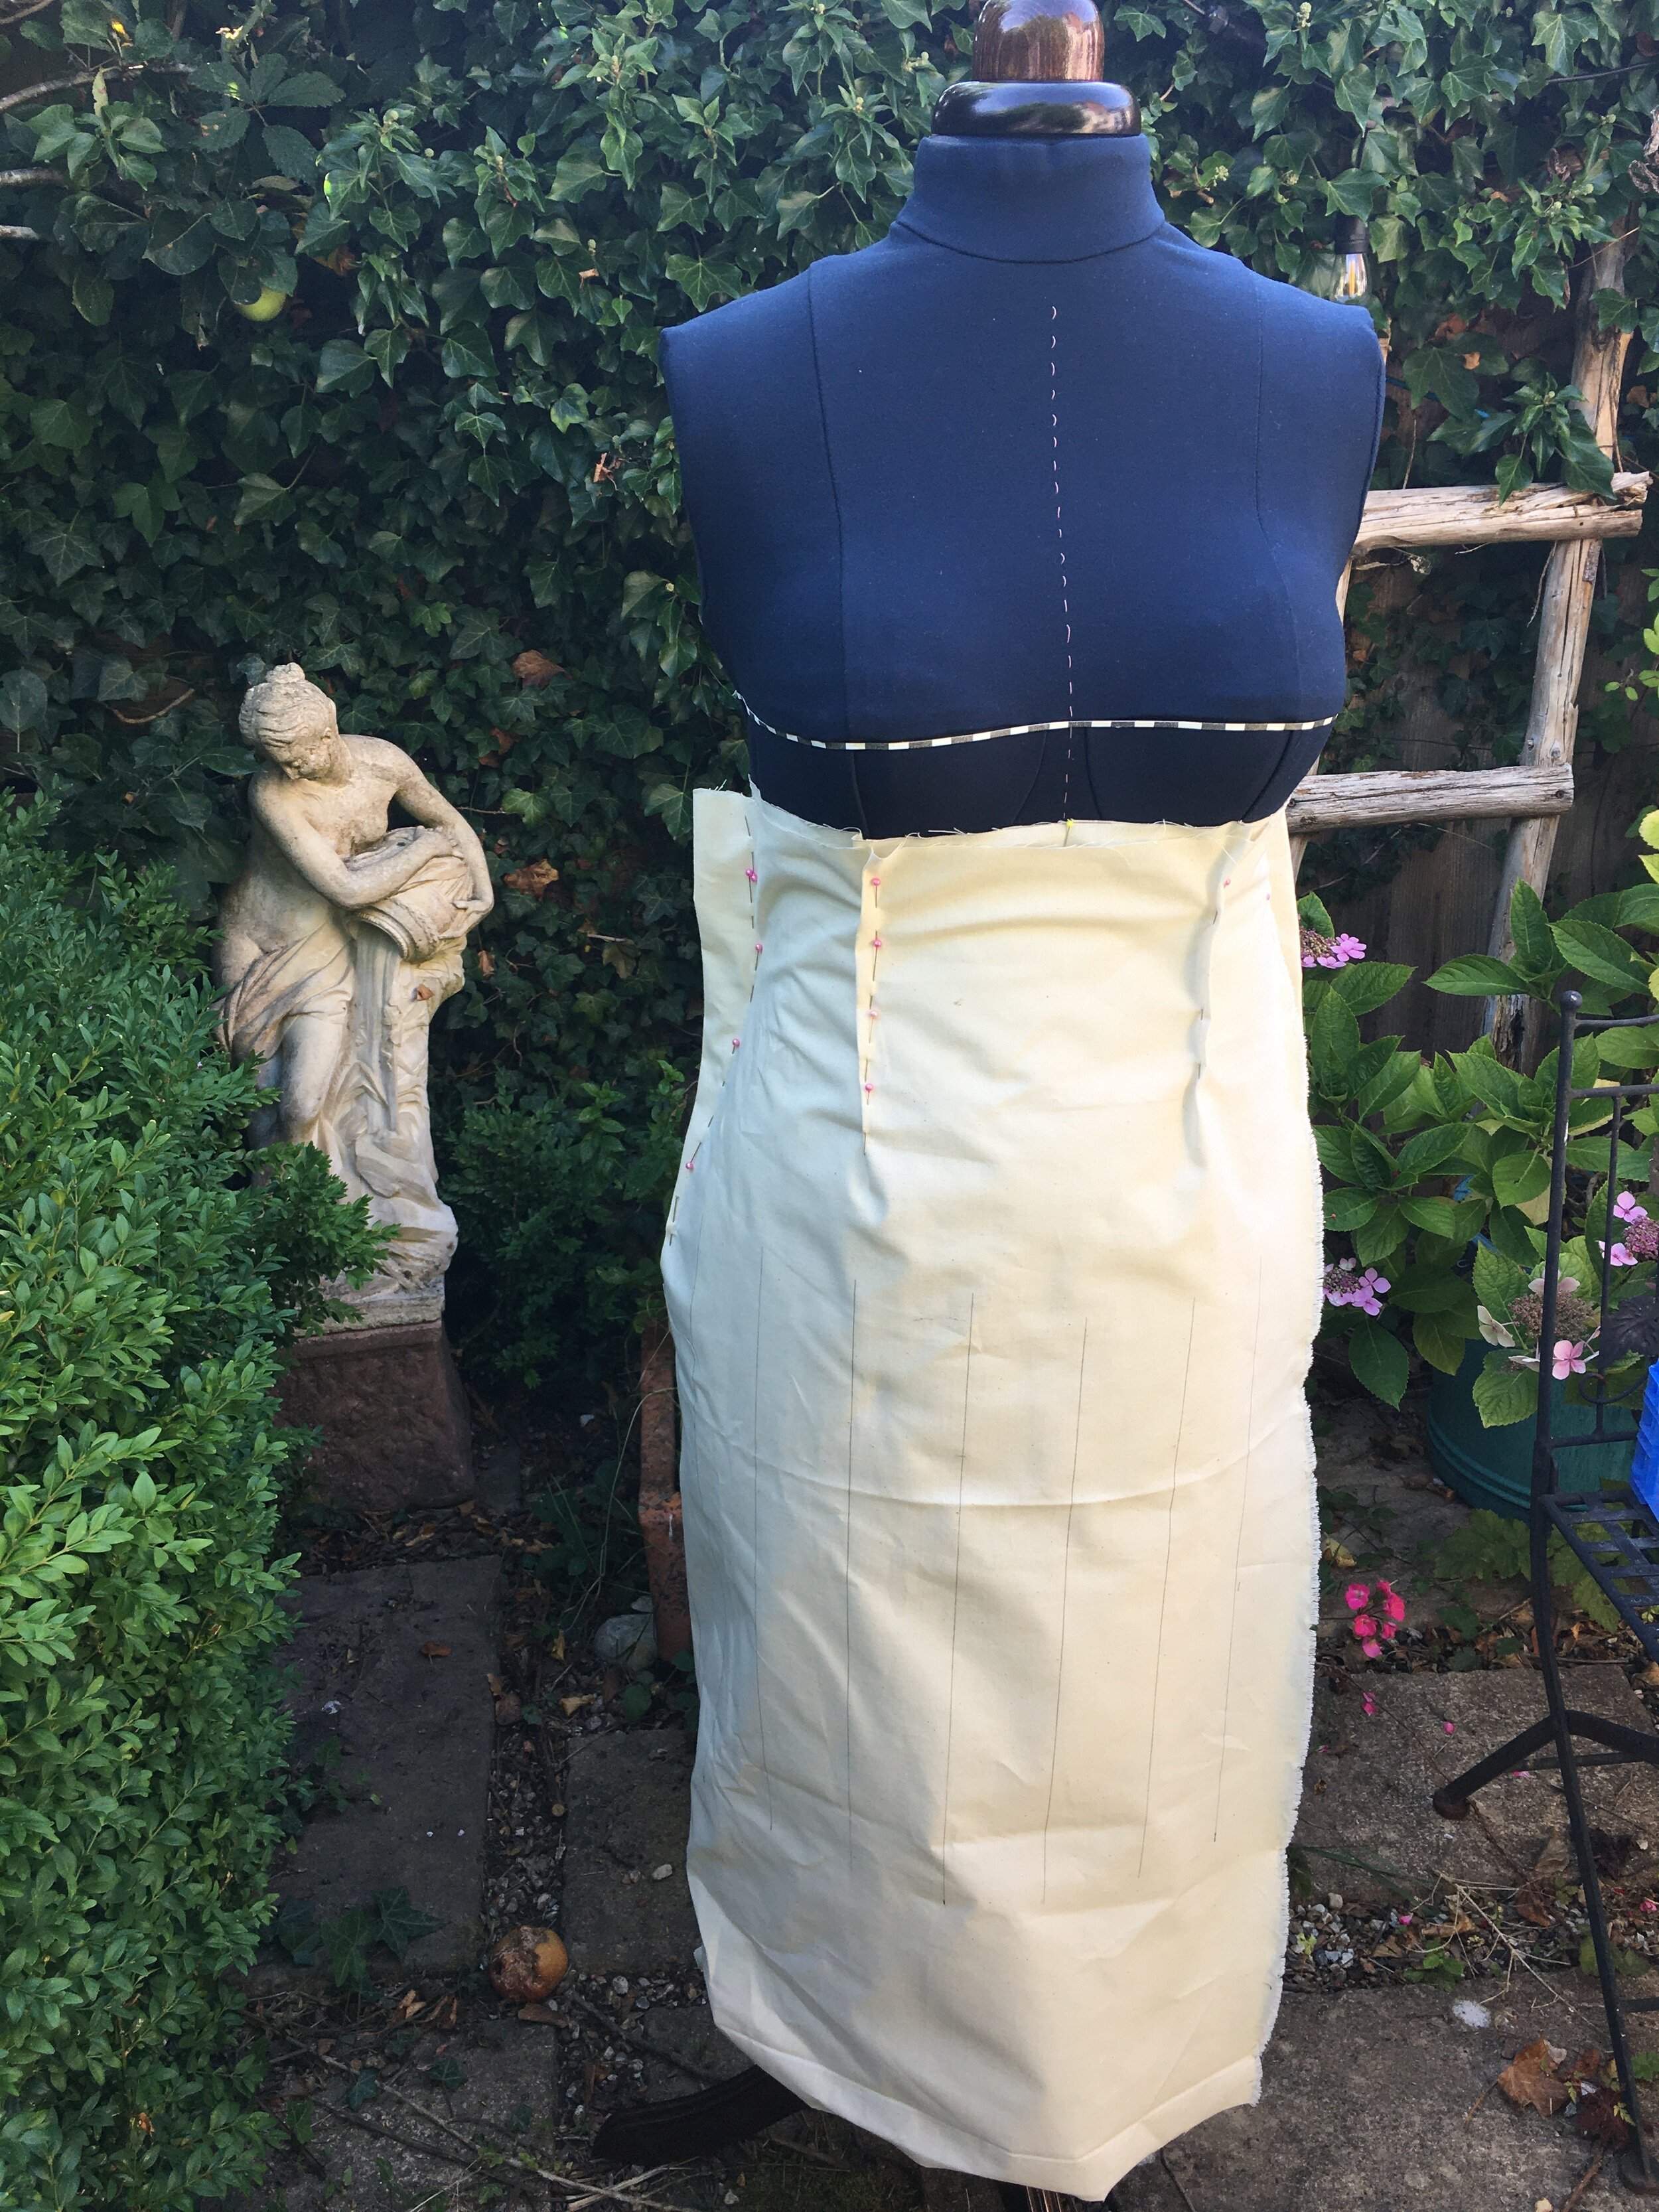
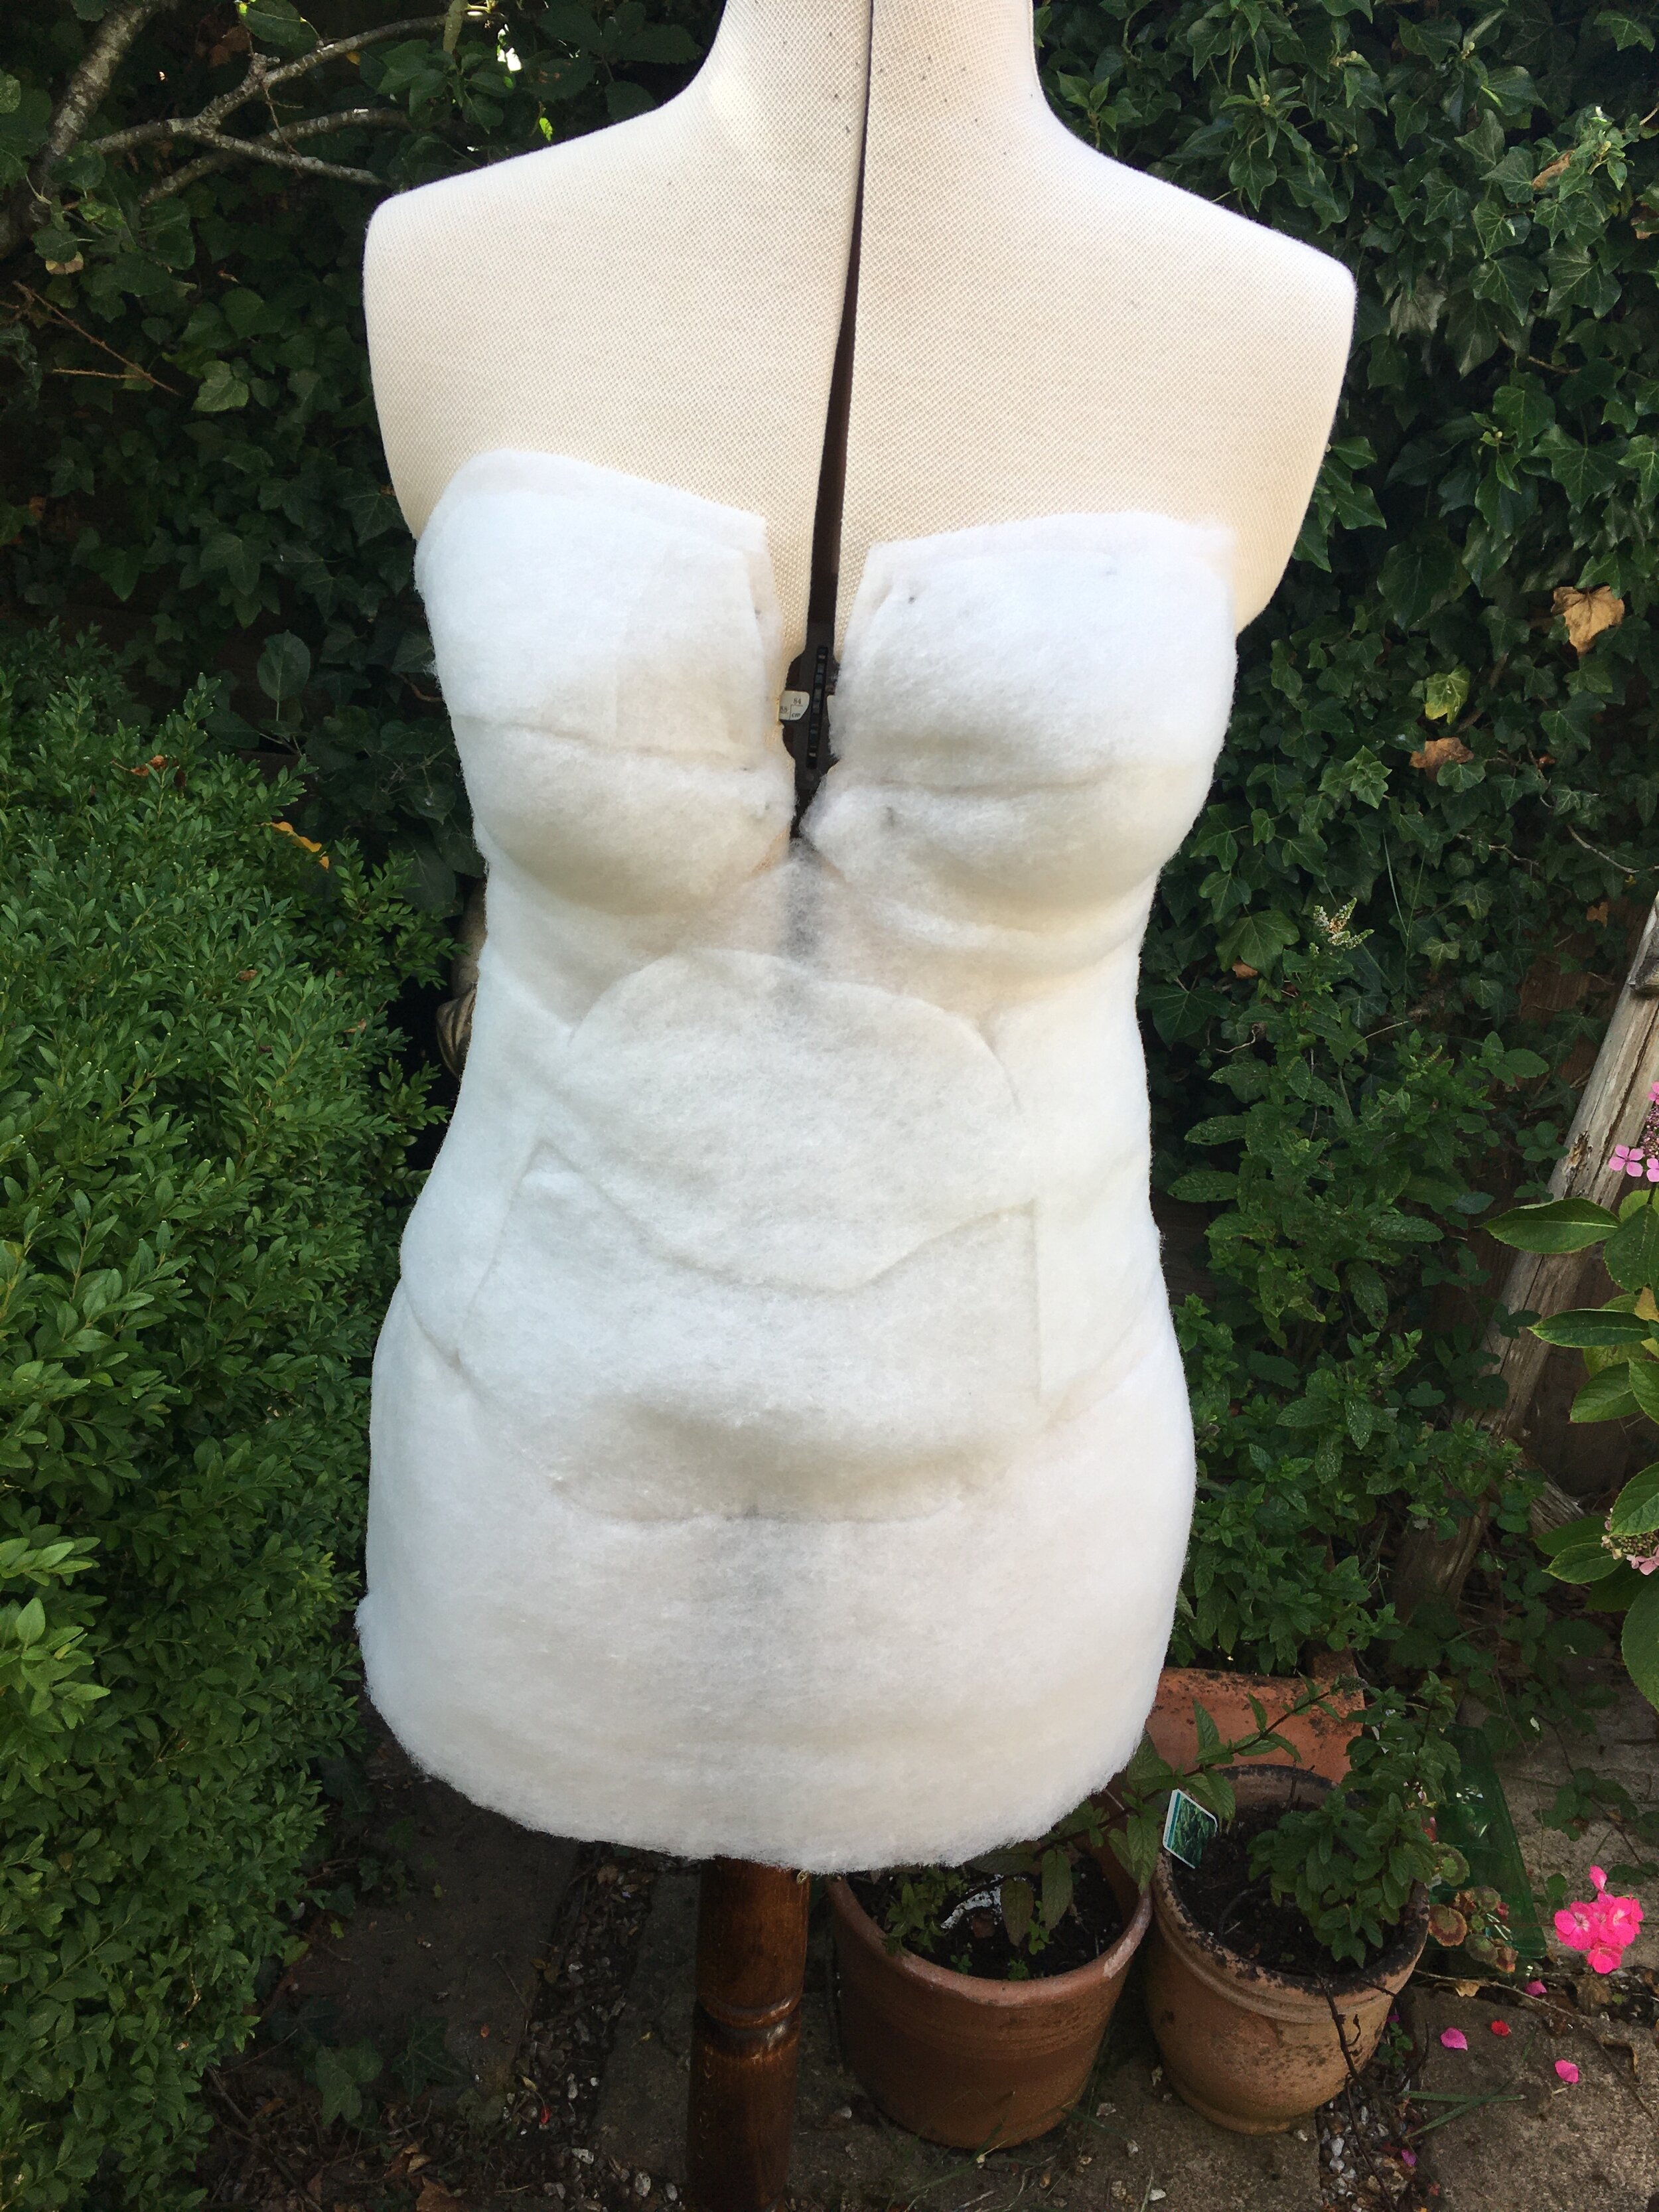

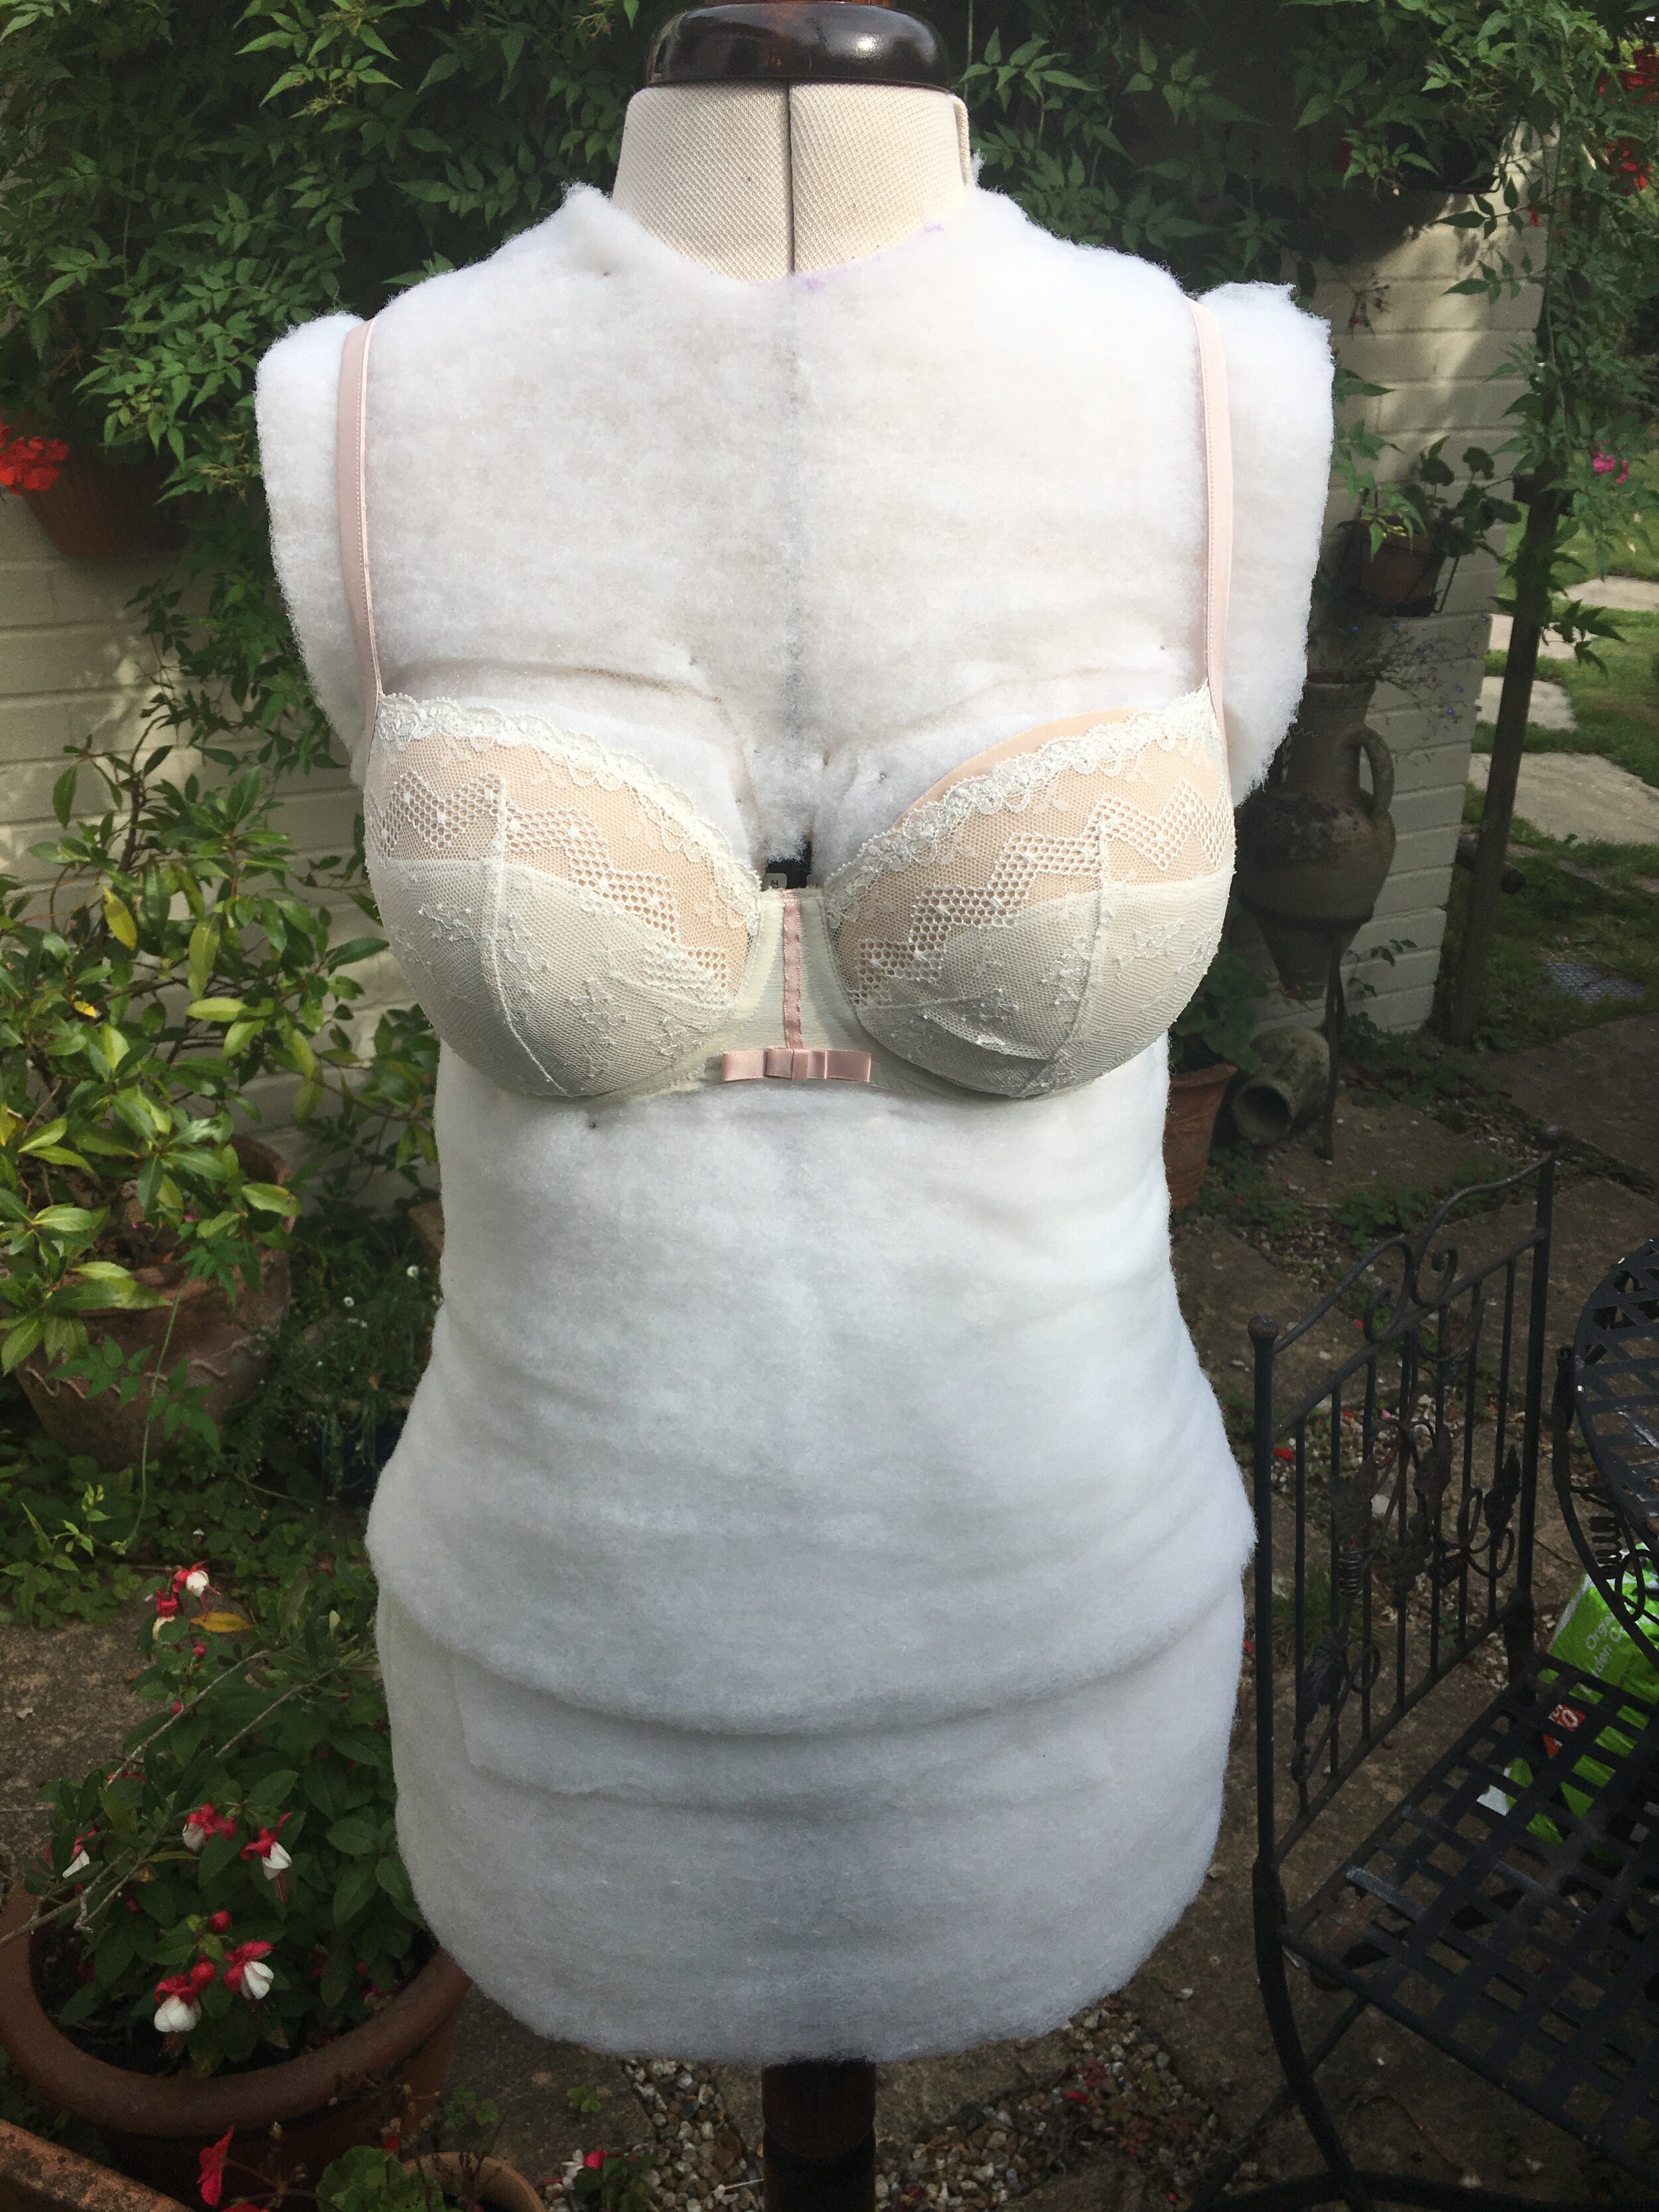
Adding the padding to the right places is definitely the most difficult part – you can see from the photo at top right that my boobs were definitely a lot less perky than the original Miss Mannequin, and originally I made the waist far too high (photo second row, left). I added additional padding to the bust but eventually resorted to using basic bodice and skirt blocks which I knew fitted really well and an old bra, and successfully padded out in accordance with these. A really good tip came from @sewingtidbits who suggested steaming the wadding to make it denser and eliminate bumps and ridges. This also enabled me to remove a lot of the pins, as the layers moulded together and stayed in place fairly well.
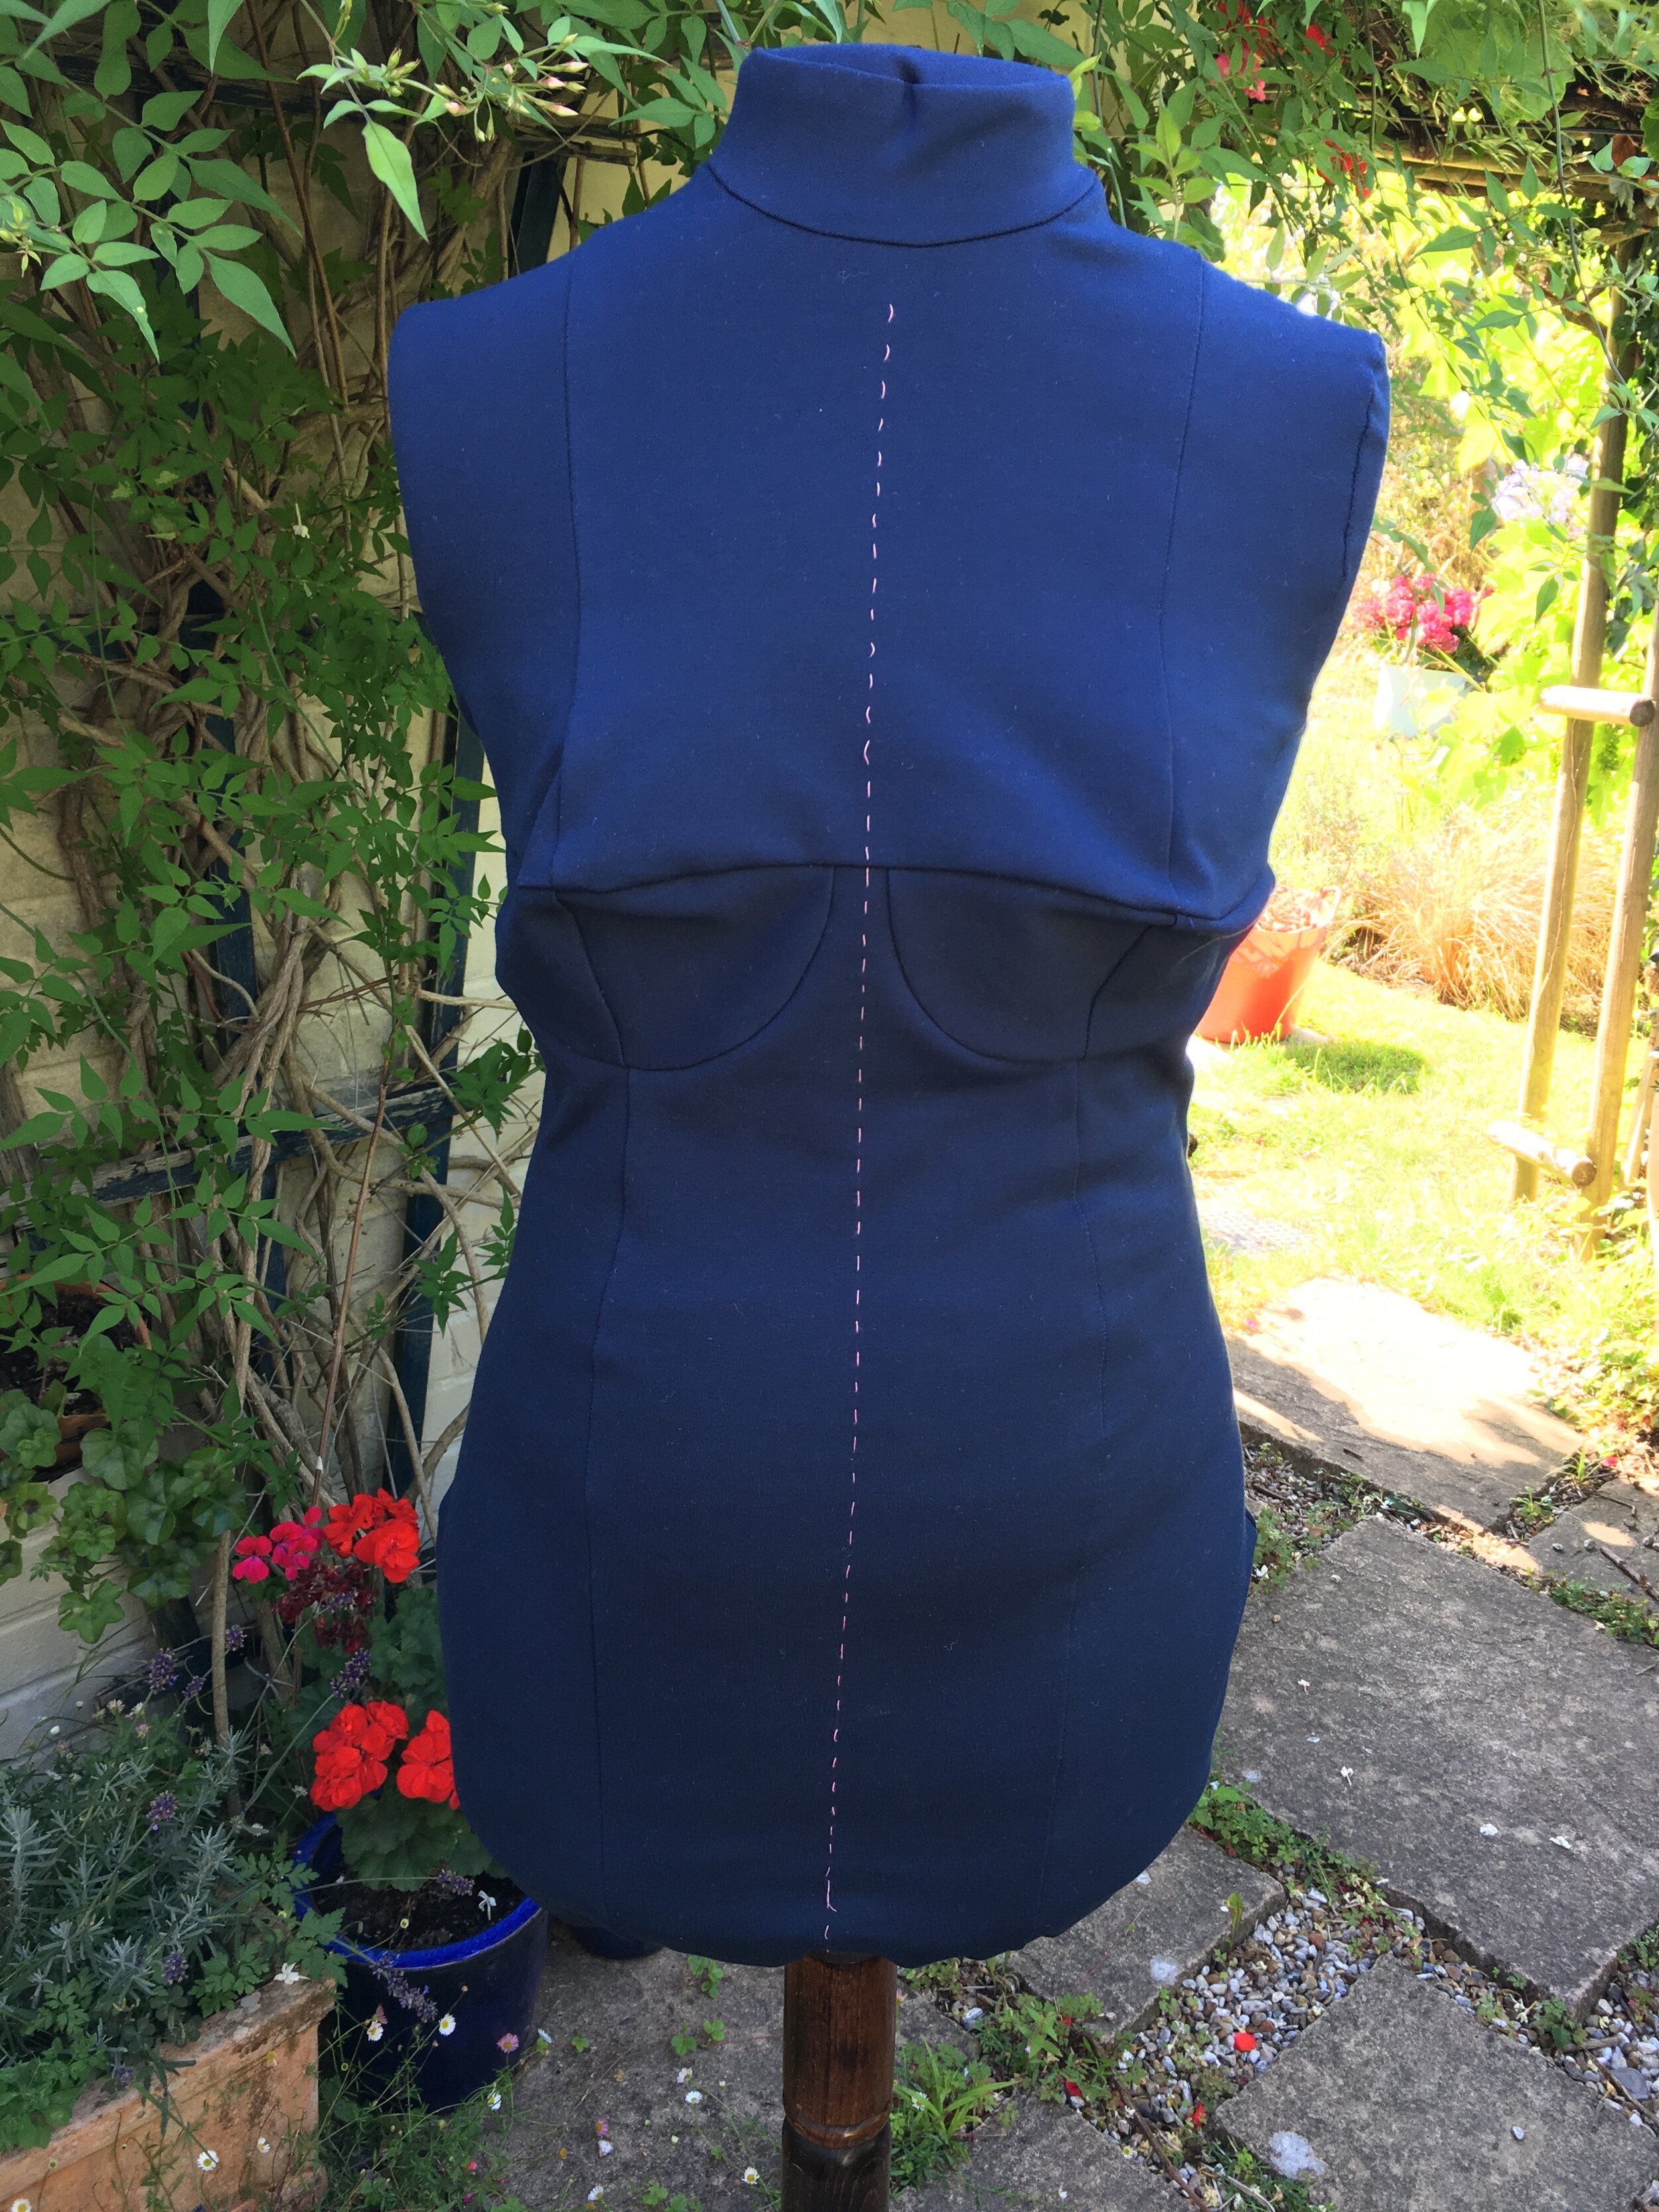
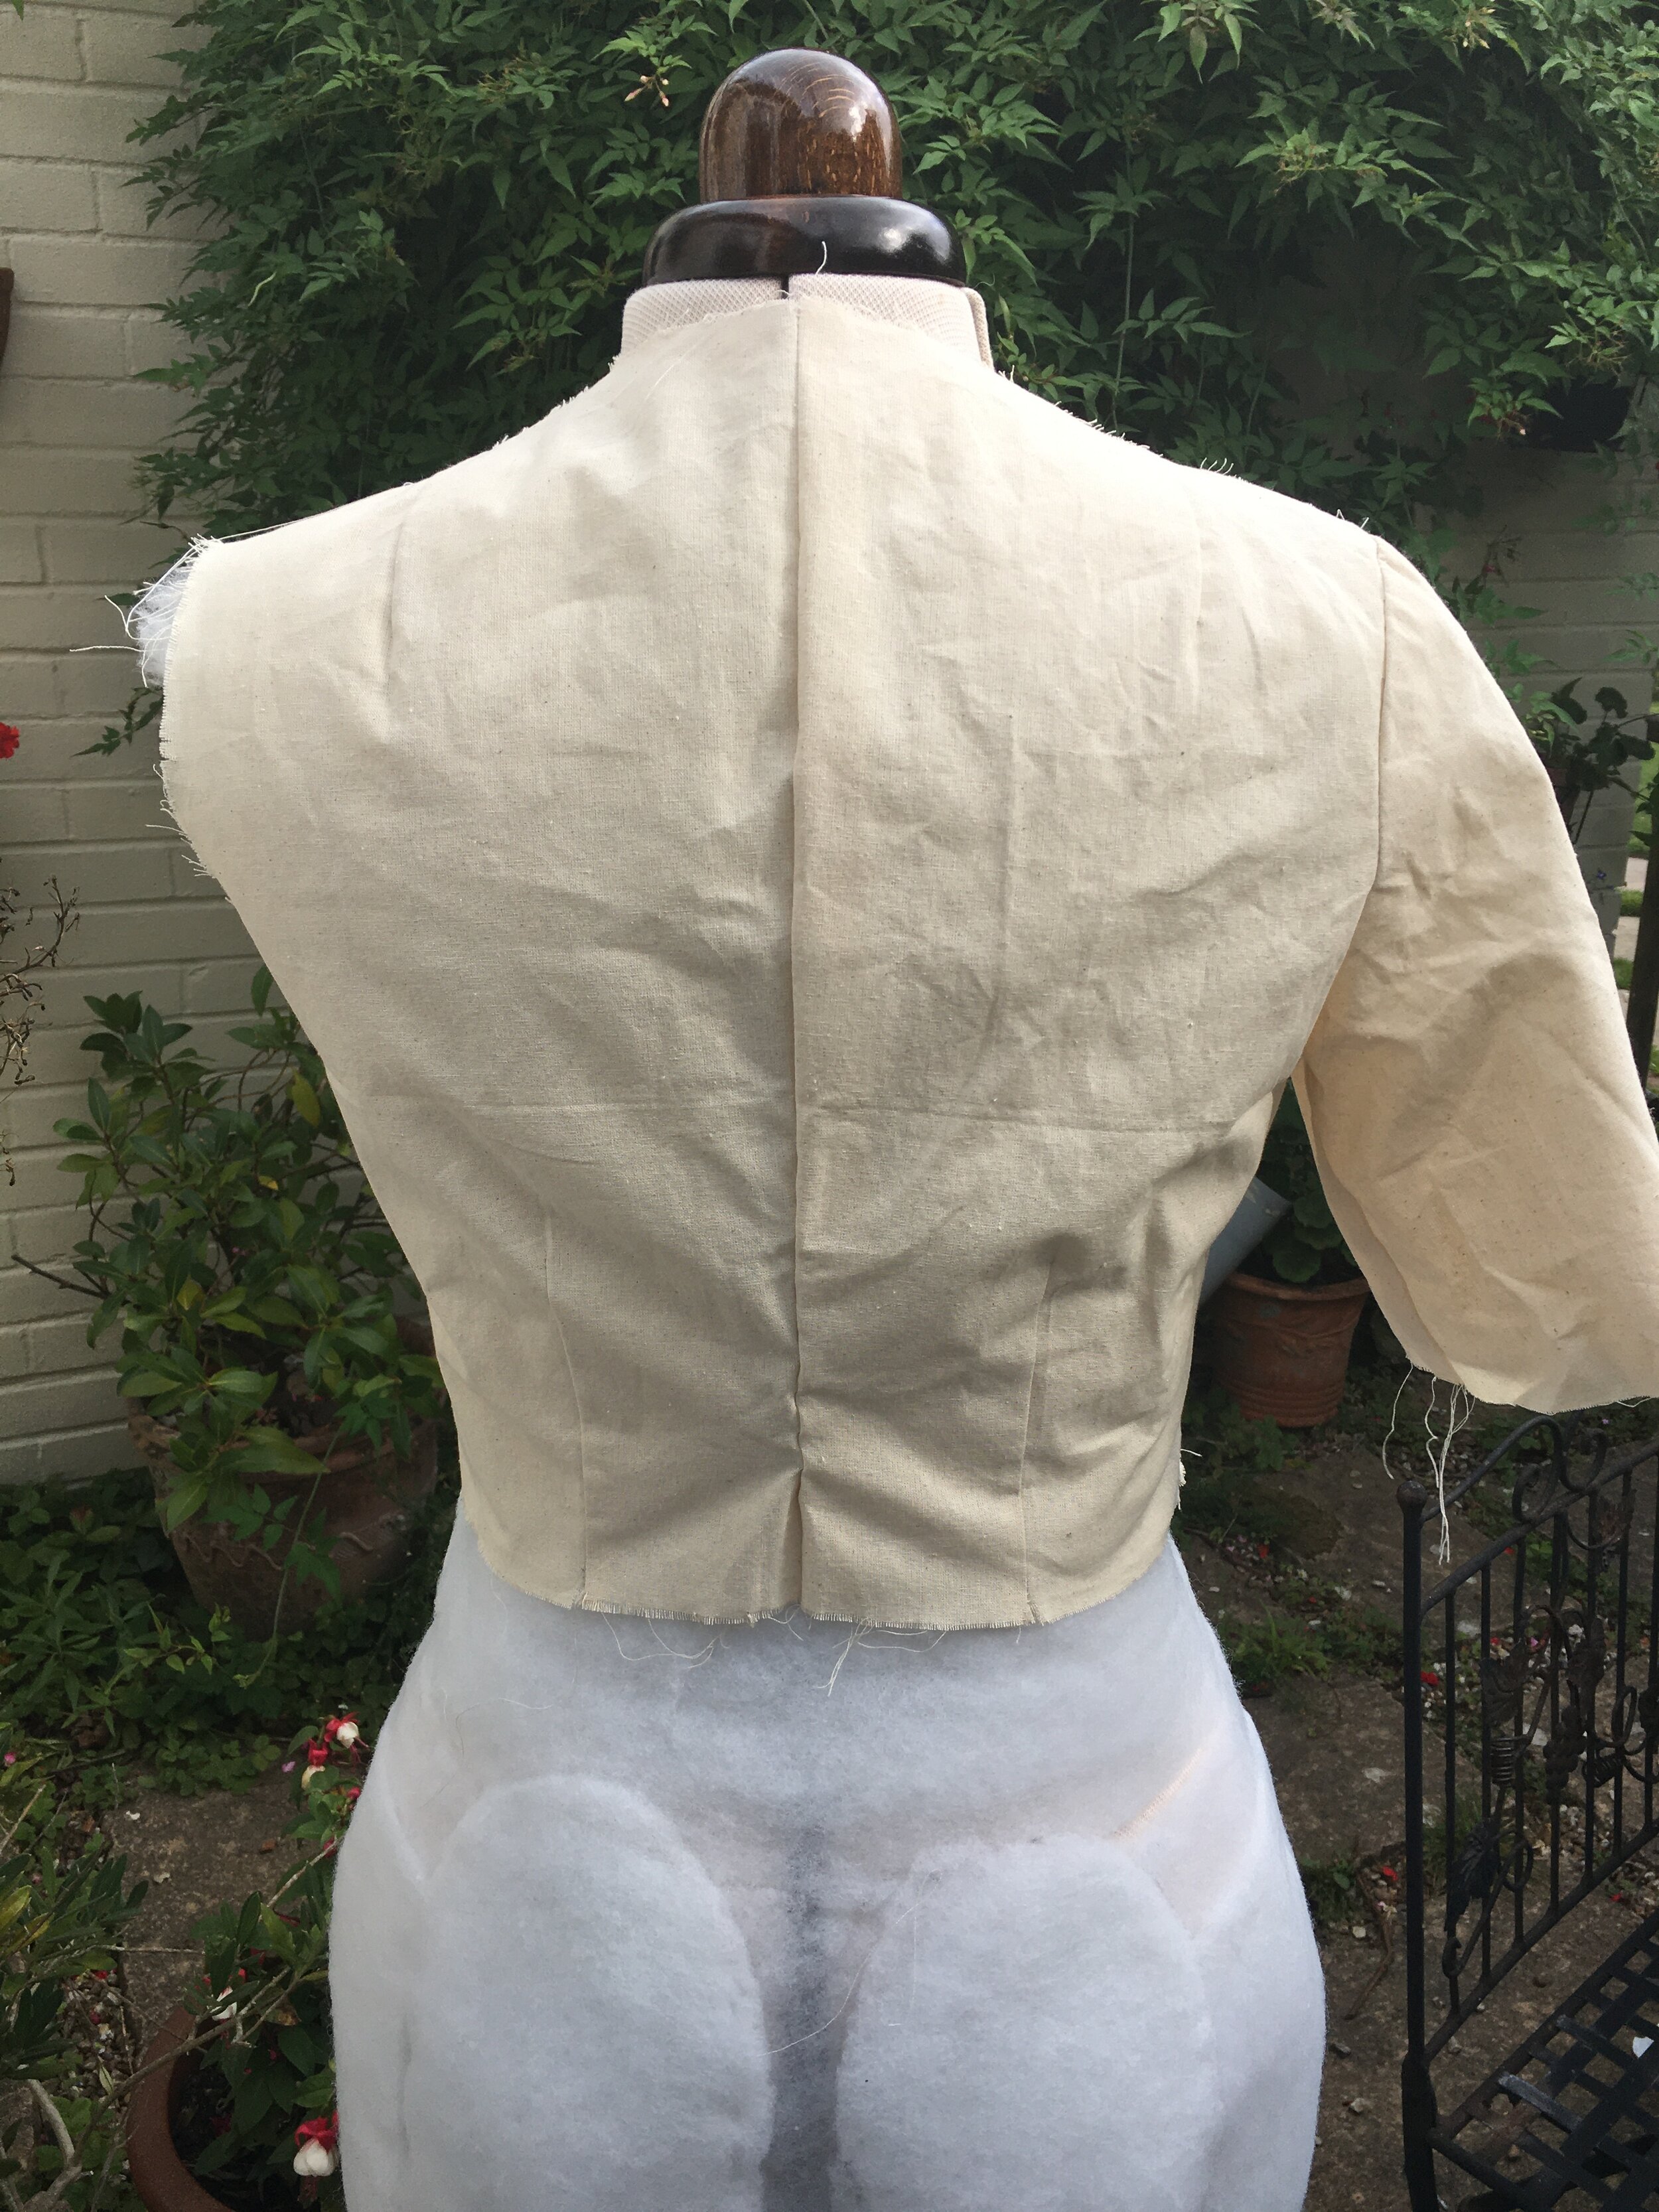
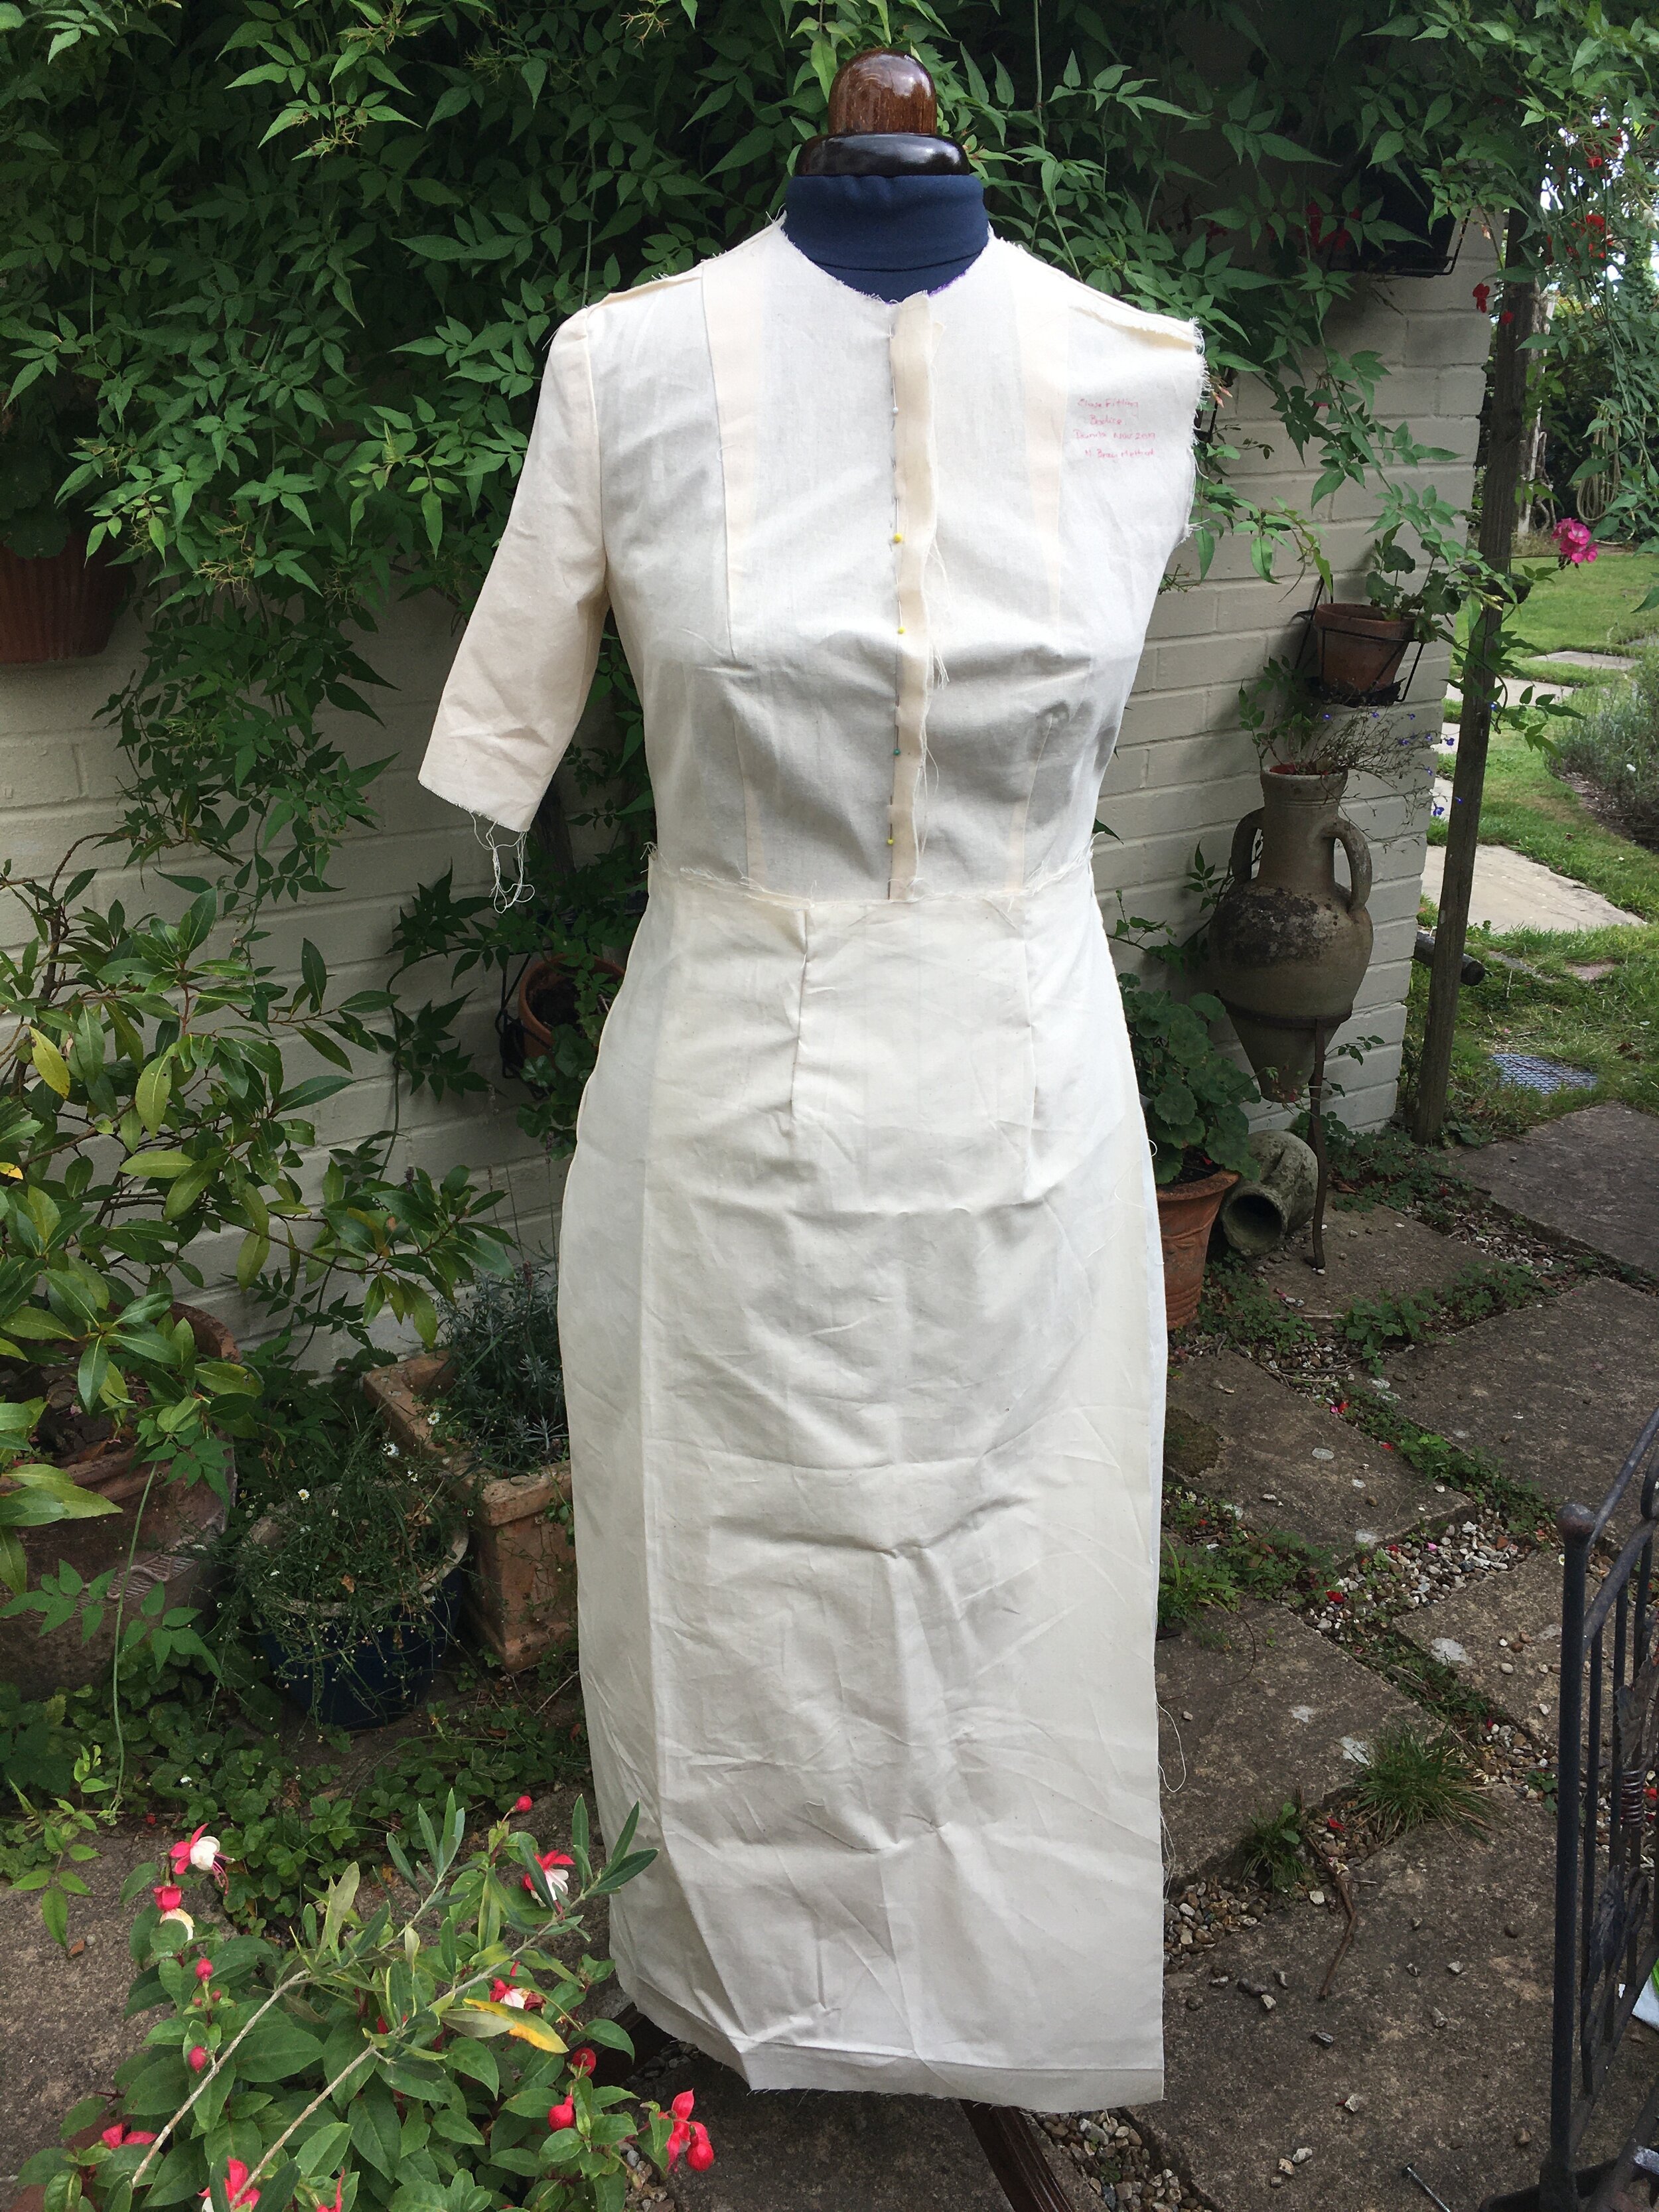
After adding the cover I marked all seamlines with twill tape so I can use her for draping but I’m hoping that she is going to be a very useful addition to my sewing room in many ways; the mannequin is now much more stable and easy to pin on and she is slightly bigger than my measurements so there is built-in ease. Whilst you could probably achieve the same effect without the custom fit cover, it is not expensive and does provide a really good starting point to work from. The custom-fit dressform definitely isn’t a quick project, but if you struggle with fitting, it’s certainly worth a try.

Hello, World!